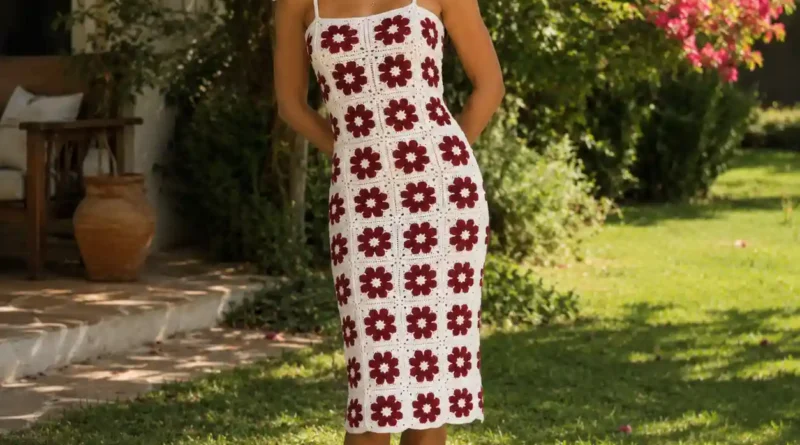
African Flower Granny Square Dress — Free Crochet Tutorial
The african flower granny square dress is exactly what it looks like — a full wearable dress made entirely from
Read More
The african flower granny square dress is exactly what it looks like — a full wearable dress made entirely from
Read More
Looking for the perfect crochet project that’s stylish, lightweight, and guaranteed to turn heads this summer? The Viral Summer Crochet
Read More
If you’re searching for a stylish, feminine, and modern crochet sweater, the Camellia Sweater Crochet Pattern is one of the
Read MoreAre you looking for a simple, stylish, and cozy crochet project? 🧶 The Chunky Blanket Crochet trend has taken over
Read More
🌹 Introduction If you’re looking for a romantic, timeless, and visually striking crochet project, the crochet bouquet blanket is one
Read More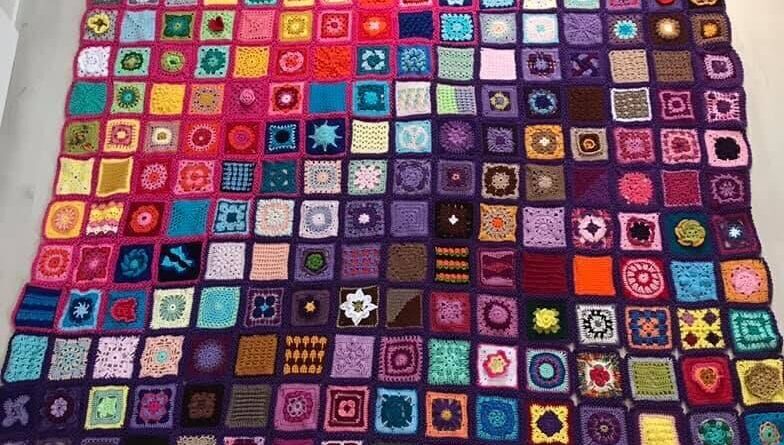
If you’re looking for a creative and rewarding crochet project, the Een Mooi Gebaar CAL is a perfect choice! This
Read More
Crochet Cardigan Craze: The Viral Granny Square Sweater 🤯🧥 If you caught my viral Instagram Reels featuring a gorgeous crochet
Read More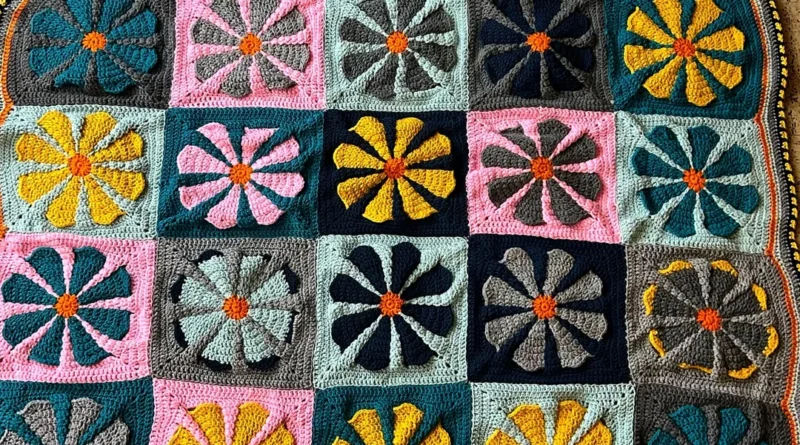
The retro daisy granny square pattern is one of those designs that looks like it took forever but actually works
Read More
Looking for a charming and easy-to-make summer crochet dress for your little one? The Field of Daisies Sun Dress Crochet
Read More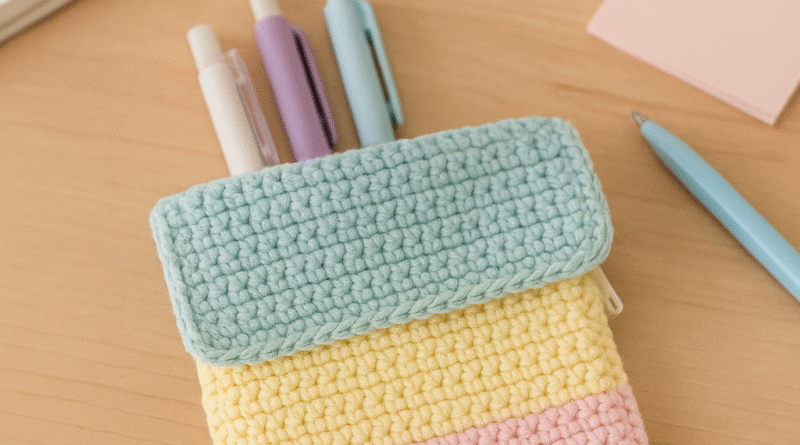
Are you looking for a crochet project that’s both cute and functional? Look no further! This crochet stationery case pattern
Read More