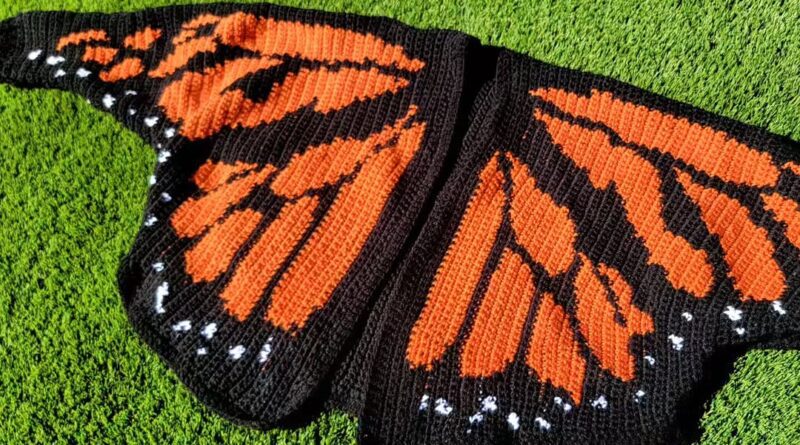
The Ultimate Guide to the Monarch Butterfly Cardigan Crochet Pattern
🧵 Quick Overview — Monarch Butterfly Cardigan 👉 Ready to start? Get the official pattern here: 🔗 Click here to
Read More
🧵 Quick Overview — Monarch Butterfly Cardigan 👉 Ready to start? Get the official pattern here: 🔗 Click here to
Read More
🧥 The Cardigan You Make… and Actually Wear All the Time If you’ve ever made a crochet piece that looked
Read More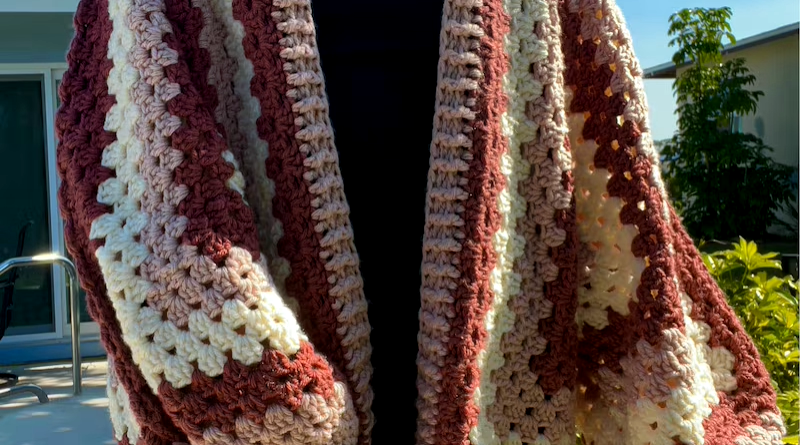
This crochet hexagon cardigan pattern is one of those projects that looks way more advanced than it actually is. Two
Read More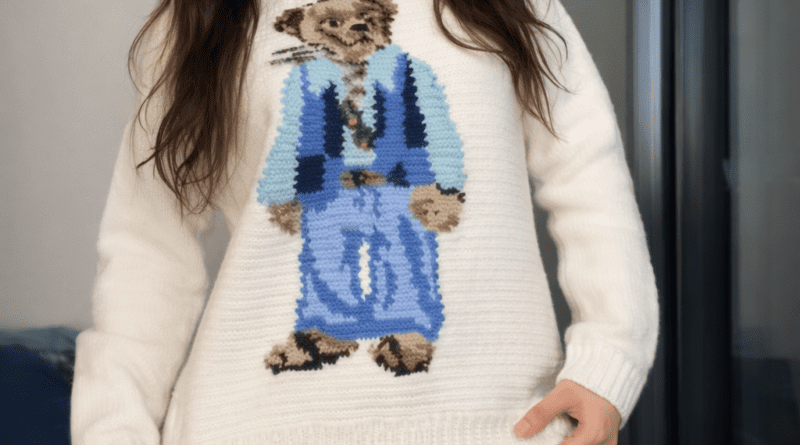
Introduction 🧶 The Polo Bear Sweater Crochet Pattern is a delightful blend of nostalgia, creativity, and cozy handmade fashion. Inspired
Read More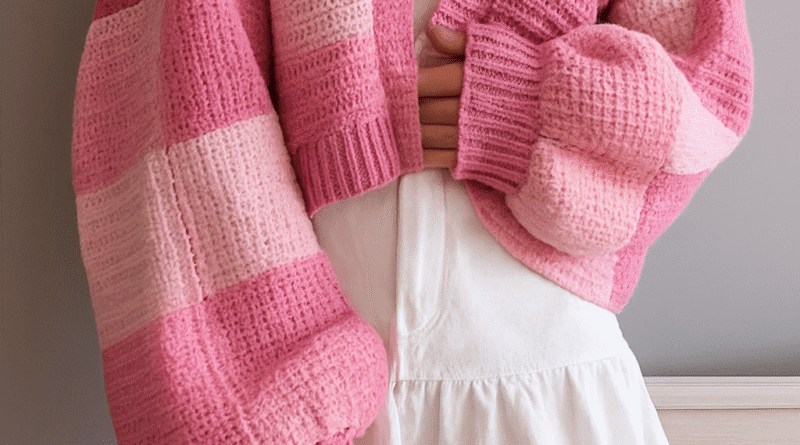
✨ Introduction The Patchwork Crochet Cardigan is one of the most recognizable and beloved designs in the crochet fashion world.
Read More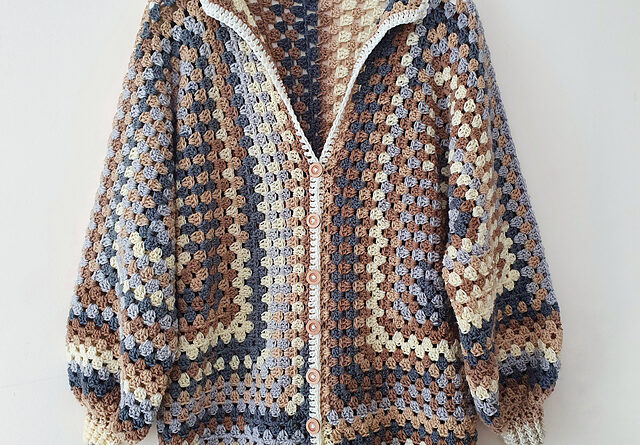
Looking for the perfect layering piece to elevate your handmade wardrobe? The Horizon Cardigan is a lightweight, cozy crochet cardigan
Read More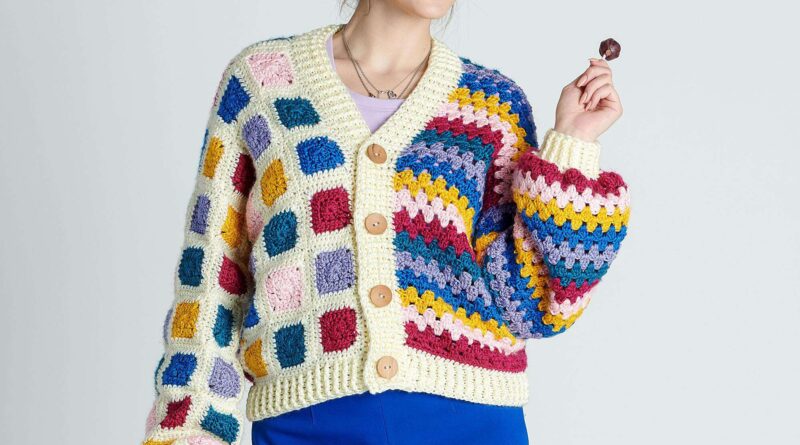
The Caron Half & Half Crochet Cardigan is the perfect mix of comfort, color, and creativity. Combining the timeless granny
Read More